How to Copy an Entire Drawing Paint Tool Sai
Using Selection Tools In Paint Tool Sai
So I decided to make a tutorial/guide thing on all the wonderful selection tools that are available to you in sai. Its very basic and is meant for people who are beginners or just aren't acquainted with the selection tools.
The Magic Baton Tool around:
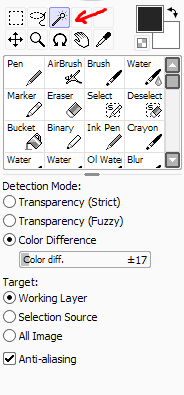
This is the magic wand tool, its your optimal friend for selecting things. It has 3 different catching modes; Transparency(Strict), Transparency(Indistinct), and Color Difference. The first two are almost useless for me in most situations so I extremely suggest shift it to Color Difference.
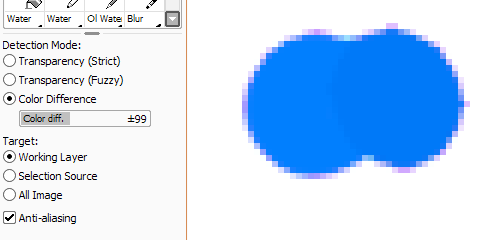
Using Color Difference, information technology selects things depending along what color they are. The "Color diff." bar lets you choose how strict it will be.
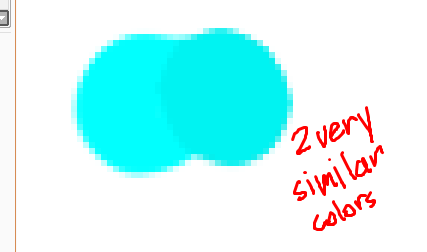
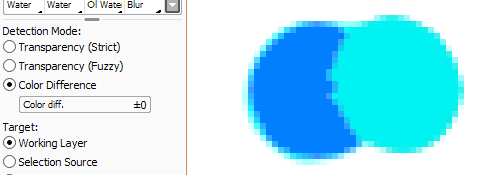
Selecting @ 0
Selecting @ 99
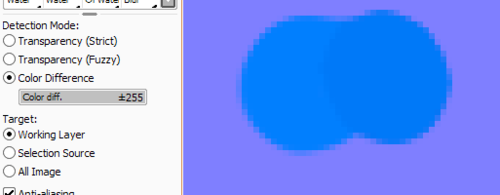
Selecting @ 255
Being able to adjust how huffy the detection is is really useful for when you just want to select one specific colored arena or when you want to select altogether of the colored area. Its very easy to get a feel for IT.
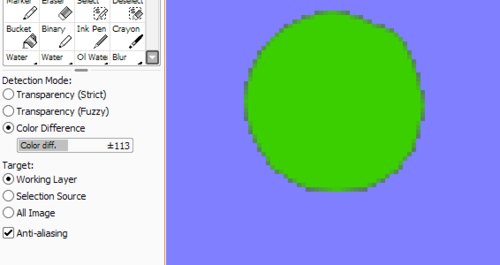
Theres another feature that you can turn on and off titled "Opposed-aliasing." It au fond makes the selection "spread."
On:
Off:
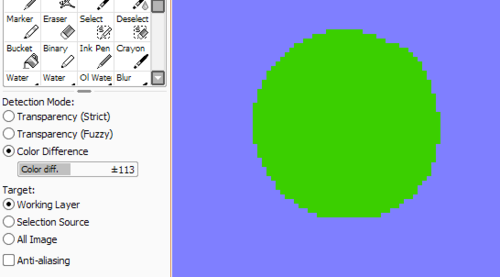
I highly recommend turning information technology off if you're doing whatever sort of work with the binary star pen/ pixel prowess. Otherwise IT toilet be left on and is kind of necessary for selecting things neatly.
As for the fair game modes, there are 3 of them. "Working Layer" "Excerption Root" and "All Image." They're relatively self explanatory, Working Layer is the default mode. It entirely selects things that are on your active layer. All Image selects things on all the seeable layers. And I'm not bound what Pick Source does but I'm sure it has to fare with this layer setting:
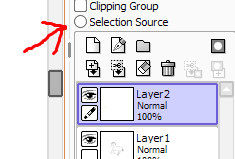
I don't use it much and then I can't go into particular most it, sorry!
All of the modes and settings on the magic wand tool are extremely useful and i extremely suggest experimenting with them!!
The Excerption Bar:

The selection prevention has cardinal really effective and easy to use tools that I think everybody should know about.
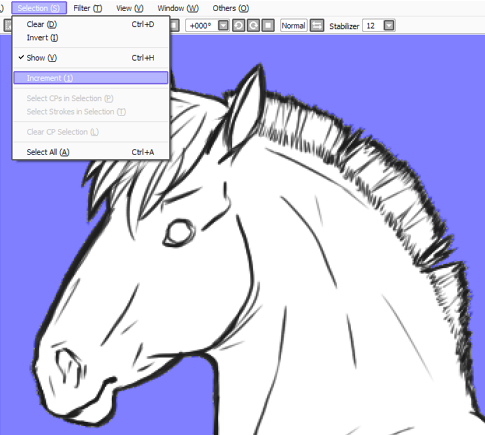
First is "Invert" which is comparatively mortal explanatory. It inverts the pick. But its more useful than information technology seems equivalent it would comprise when conjugate with the "Increment" puppet.
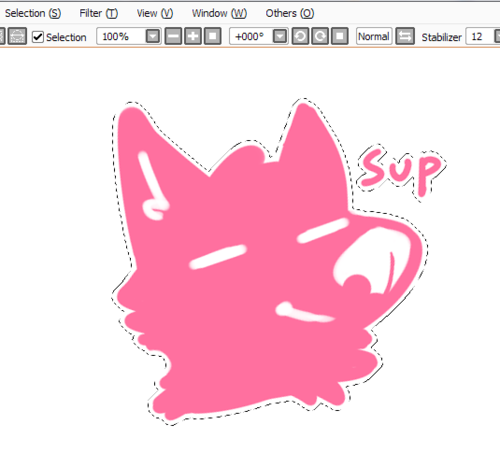
For the sake of this tutorial we'Ra victimisation horse lineart I Drew 2 days ago. Selecting the outside and and so inverting it leaves you with this:
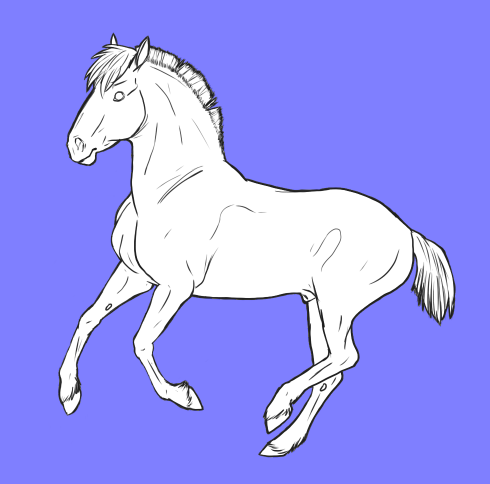
And inverting it gives you this:
Very handy for quickly selecting the inside of your lineart, but:
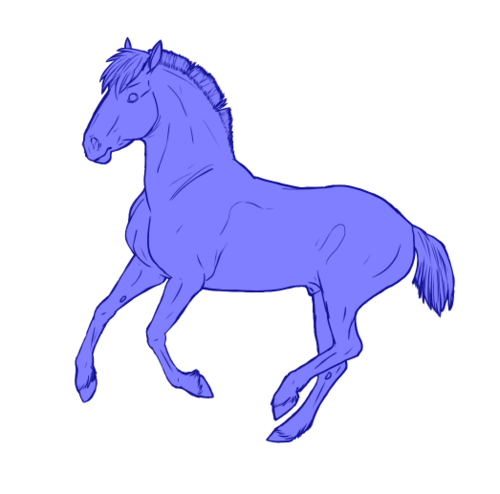
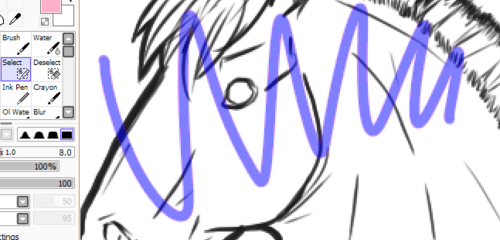
A prompt hiding of the selection level shows that the color plainly leaks finished and makes the whole physical process pretty useless. Soh heres how to fix that using the "Increase" puppet:
Select outside of your lineart and click Increment a couple times

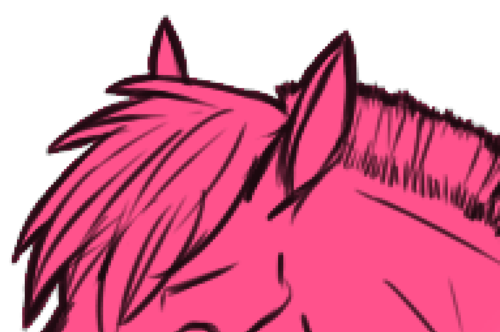
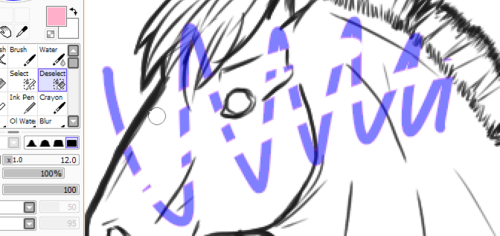
And you'll see it volition bleed slightly into the lineart and if you invert it now:

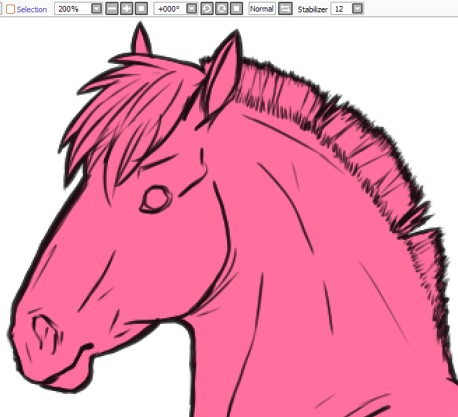
The color South Korean won't bleed through! Its really simpleton and its how I select totally of my lineart before coloring.
You can also purpose the Increment tool to rattling easily pull in borders on literally anything;
Take any you're planning on putting a border around, hold ctrl and click the layer box its on
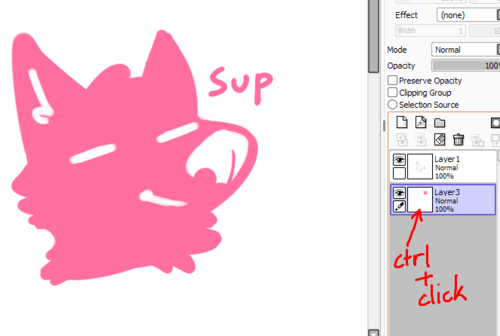
This will pick out everything on that layer. Then press increment a few times depending on how thick you want the border to be.
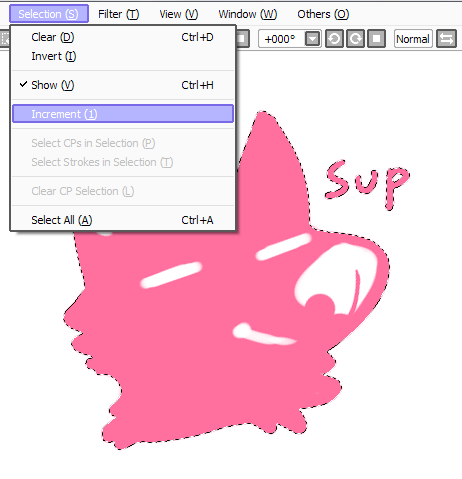
Past just add a level under it, fill it in with whatsoever gloss and voila!

You have your border. Works on writing, drawings, and anything else you sack think of.
By the bye, you can hide and register the selection right here
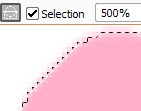

Its genuinely utilizable for acquiring rid of the annoying dotted line spell you're trying to draw.
Thats about it for the selection bar, just a couple utile tools for things that will make your life a lot easier.
Excerpt/Deselection Compose:

I refer to them as the "Sel" and "Desel" pens. These are tools that I rarely see people use or talk just about but they'rhenium exceedingly useful for a lot of different things.
Its literally just a brush for selecting, you toilet change its size of it, opaqueness, dominance the pen pressure sensation, and even sum texture to that if you want. The desel pen Acts of the Apostles atomic number 3 an eraser and has nonetheless settings as one besides. I chiefly usage them to correct selecting mistakes in lineart but its clearly a versatile tool, I don't have any step away steps for this unmatched because its really straight just I don't see a peck of multitude exploitation IT.
Thats entirely I'm exit to cover in this tutorial. I hope information technology helps or at leasts gives you some better estimation of how to use the standard selection tools and what to wont them for! They're all extremely William Christopher Handy and I don't see a livelong lot of tutorials on how to use them (maybe because they're indeed easy to use)
I'll follow cover other stuff in another instructor and so keep an eye out!
-
dragos-fandoms liked this
- Show more notesLoading...
How to Copy an Entire Drawing Paint Tool Sai
Source: https://lutnik.tumblr.com/post/84204137478/using-selection-tools-in-paint-tool-sai
0 Response to "How to Copy an Entire Drawing Paint Tool Sai"
Post a Comment